Rail Bolt Hole Inspection
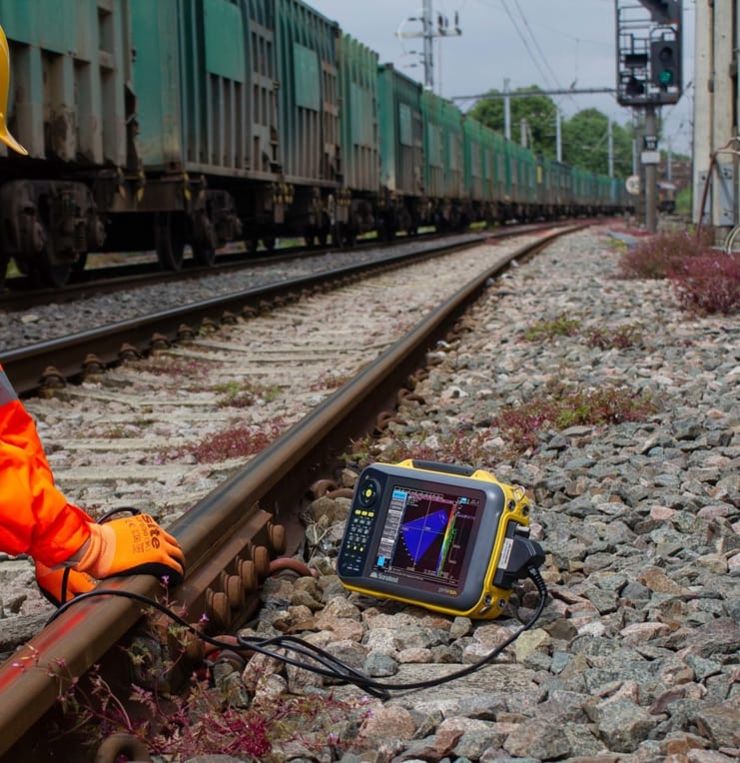
This application note highlights the use of phased array ultrasonics to reliably perform the bolt hole inspection in a more time efficient manner.
Inspection of bolt holes in rail is a common application that detects cracking caused by expansion and vibration. These cracks originate from the bolt hole and can spread out, this causes the rail ends to eventually come apart. The most commonly used method for this inspection is conventional ultrasound, the inspector must use a variety of transducers and a different offset point for each hole.
This application note highlights the use of phased array ultrasonics to reliably perform the bolt hole inspection in a more time efficient manner.
|
|
|
|

Beamtool scan plan and an example of rail bolts through holes
Typical signal response
|
|
|
|
|
|
|
|
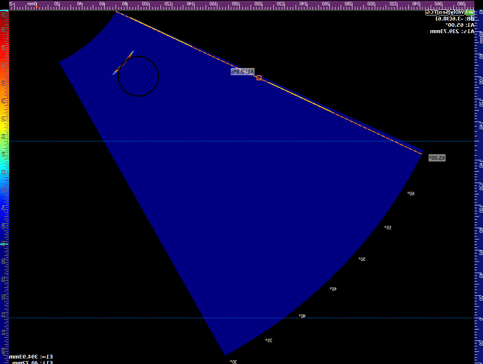
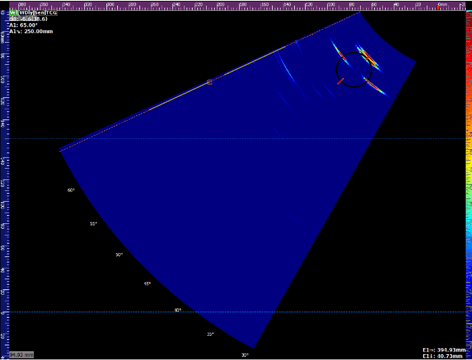
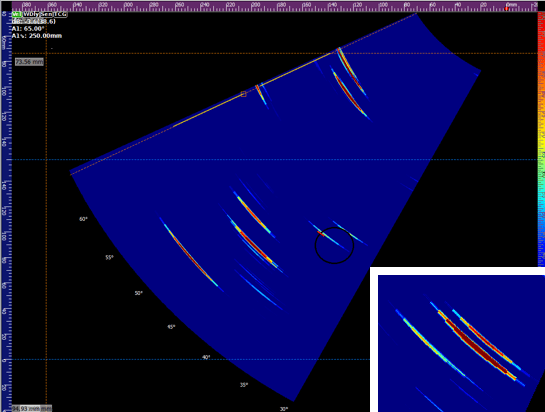
The four images above show the bolt hole with and without defects, Fig 1 shows the response going direct onto the bolt hole, this produces one reflection from the hole. Fig 2 shows the same direct scan, this time hitting 3 or 4 defects around the hole, it is possible to differentiate the top response as a defect rather then geometry because its two separate reflections close together.
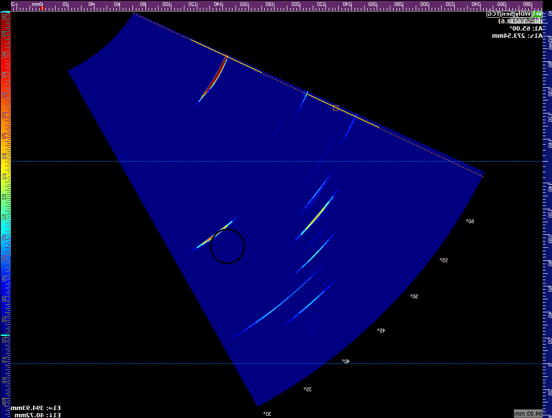
Figures 3 and 4 show the scan images of the bottom side of the bolt hole, this time skipping is needed, when the sound is reflected up from the bottom of the track in order to get full coverage. Fig 3 shows the response with no defect, whereas fig 4 shows with two defects, the zoomed in image shows the two reflections from the right had signal.
For further information or support, please contact the Sonatest Applications Team: applications@sonatest.com
